

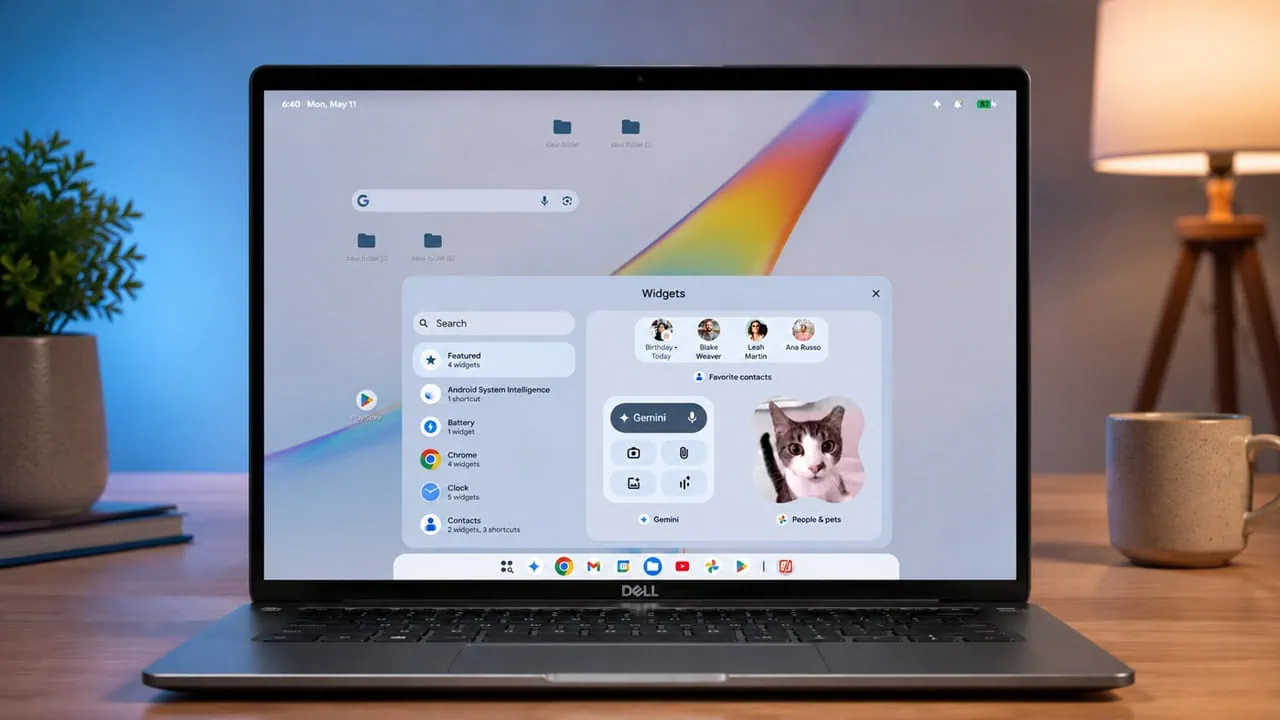
Google’s Aluminium OS had its big reveal at the last Android I/O, where the company showed off its new line of Google Book laptops and the operating system built to run them. The catch is that none of those machines are on sale yet, and the OS itself is not flashed on everyday desktops. With a bit of setup you can boot Aluminium OS on your own PC or laptop before the hardware lands.
This guide walks you through running Aluminium OS on a computer using the UTM virtual machine. We use the system image released for the OS and a LineageOS build as the base that provides the boot, vendor, and config files a virtual machine needs. You will end up with a working Aluminium OS desktop inside a window, ready to try before any Google Book ships.
What is Google Aluminium OS
Aluminium OS is Google’s new desktop operating system. Internally known as ALOS it is based on Android 17 but do not confuse it with Chrome OS with just the Play Store added and simply blown up for a bigger display. Designed completely anew, this system has its own window manager and task bar along with virtual desktops. Moreover, Gemini AI is core to the system and not just an app.
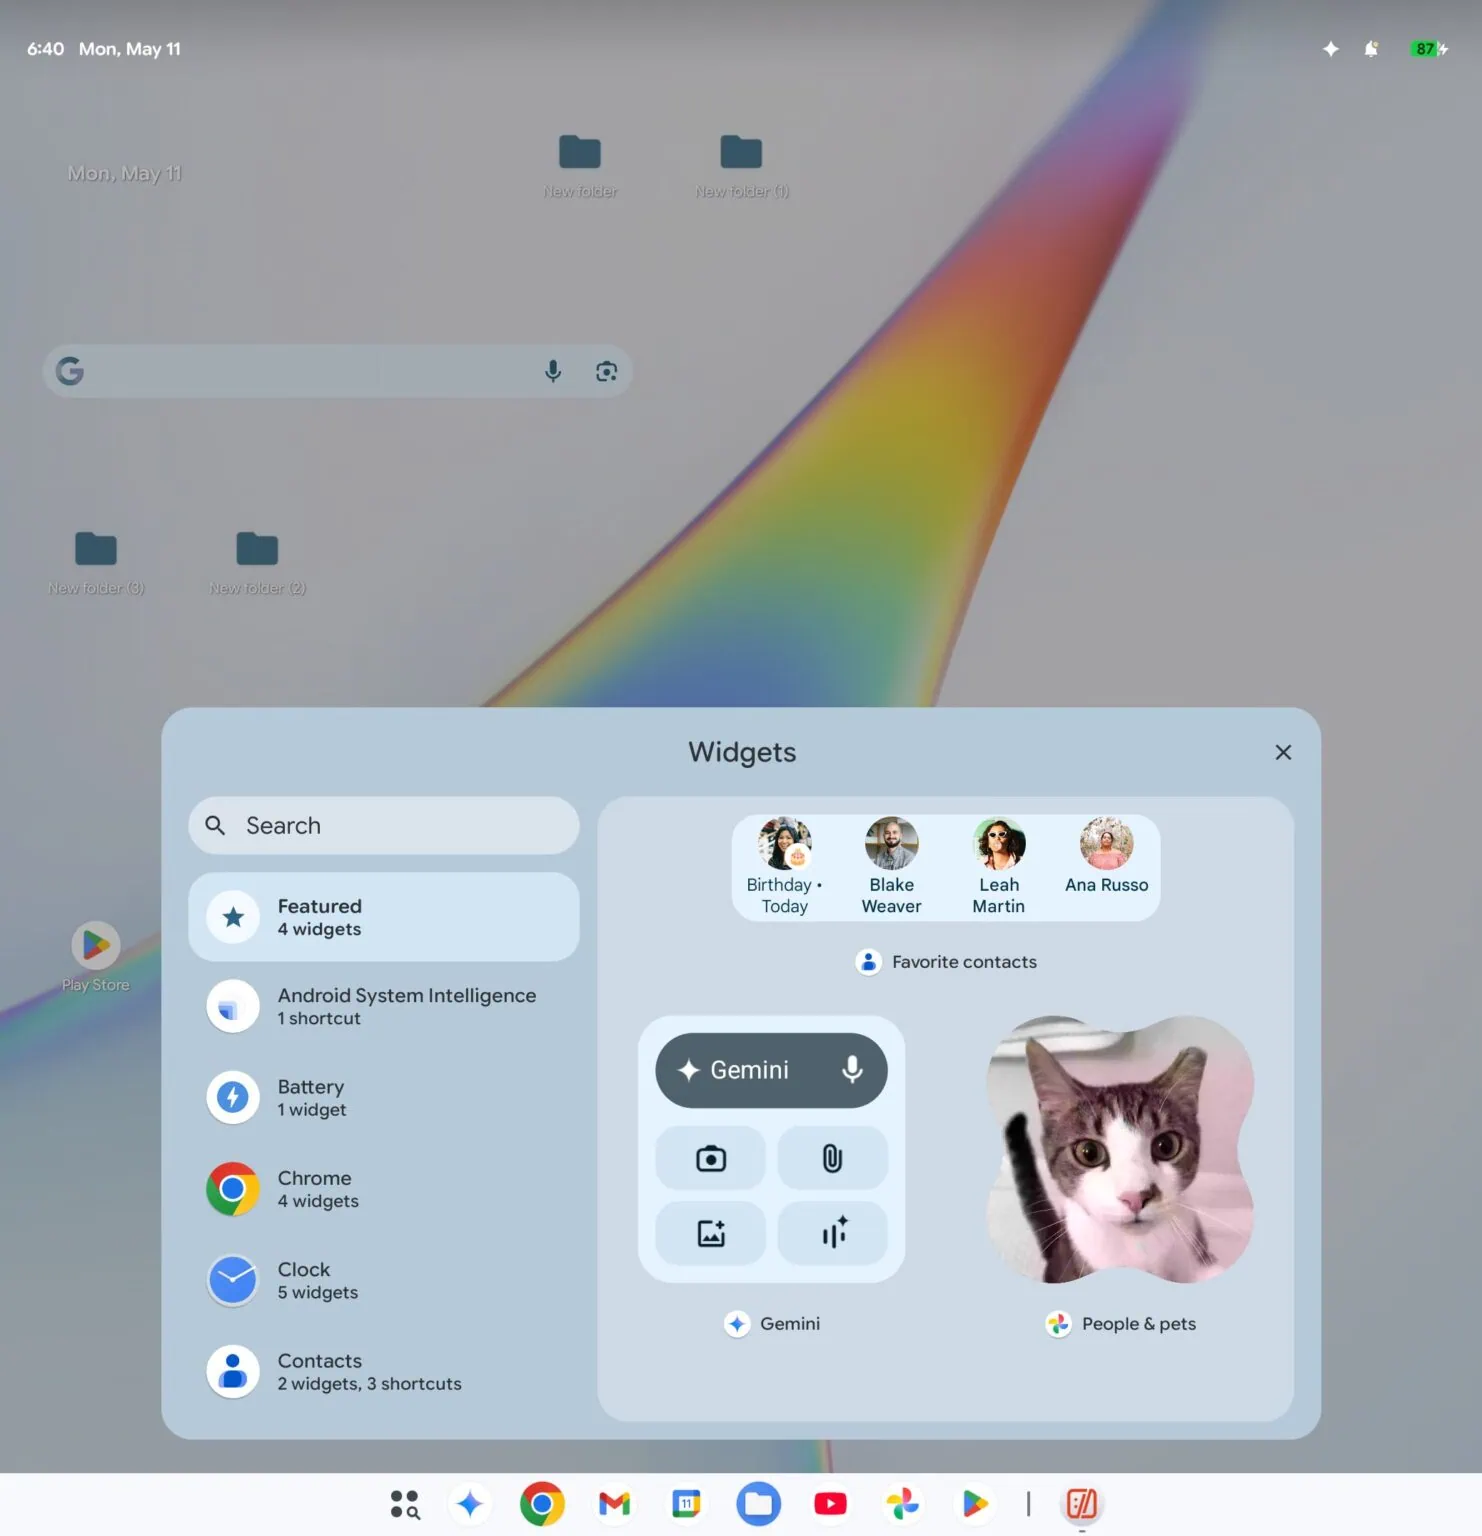
The Play Store enables you to run around three million Android apps directly right now which you can resize windows and use with a keyboard and mouse. It also includes a Linux container as well as web apps you can install. That is adequate for most daily tasks without finding native versions. Google intends to release it in 2026 with partners like HP, Lenovo, Acer and ASUS.
Why Run Aluminium OS on a PC
Booting into a virtual machine lets you test out the platform before buying any hardware. You will see the real layout, multitasking and AI features without waiting for an official device of Aluminium OS. Everything runs from an image you control. That lets you snap a snapshot and reset whenever something breaks.
- Desktop multitasking – Multiple virtual desktops, snap layouts, picture-in-picture, and a task view made for real work.
- Android apps natively – The full Play Store with proper keyboard, mouse, and resizable window support.
- Built-in Linux – A Linux container ships as a core feature with GPU access, ready for dev tools.
- On-device Gemini – AI runs on the neural processor, works offline, and understands context across open apps.
- PWAs install as native apps – Tools like Figma, Notion, and VS Code install as standalone desktop apps.
Prerequisites
- A Mac running macOS, since this method uses UTM. Intel and Apple Silicon are both supported.
- Enough free disk space for the virtual machine and the OS image, ideally 10GB or more.
- A stable internet connection to download the VM app, the Aluminium OS image, and the LineageOS base build.
- Basic comfort with macOS menus and file management, since you will move files around and pick them inside UTM.
Downloads Aluminium OS with LineageOS UTM build
There are three pieces to grab before you start. The GSI is the Aluminium OS system image itself. The UTM build from LineageOS supplies the boot, vendor, and VM config because a GSI on its own is just a system image. UTM is the app that runs the whole thing on your Mac.
| File | Details | Download |
| UTM | Free virtual machine app for macOS | DOWNLOAD |
| Aluminium OS GSI | Aluminium OS MOD by Mystic GSI | DOWNLOAD |
| LineageOS UTM build | Base VM that includes boot, vendor, and config files | DOWNLOAD |
Download all three to an easy-to-find folder, such as your Downloads directory. You will import the Aluminium OS image into the LineageOS virtual machine, so keeping them in one place avoids hunting around later.
How to Install and Boot Aluminium OS
Start by launching UTM and giving the LineageOS virtual machine its first import. The goal is simple: load the LineageOS VM, then swap in the Aluminium OS system image so the OS boots instead. Follow the steps in order and leave the default VM settings alone unless a step says otherwise.
- Install UTM and open it for the first time.
- Import the LineageOS UTM build into UTM. It supplies the boot, vendor, and config the machine needs.
- Click the Edit icon in the top-right corner of the VM window to open its settings.

- Go to Drive on the left panel and click New.
- Choose Import and select the Aluminium OS GSI you downloaded.
- Leave every other setting untouched and hit Save.

- Run the LineageOS VM in UTM.
- When the boot menu appears, select Advanced Options.

- Choose the last option that boots the GSI from the device block path.

- Wait for the Android boot animation to appear. It takes a minute or two while the OS starts.
- After a few minutes the Aluminium OS desktop loads, and you are in.

The whole process takes around ten minutes from a cold start. Once Aluminium OS reaches the desktop you can install apps from the Play Store, open the built-in terminal, and explore the multitasking features just as you would on a real Google Book.
What to Expect After Booting
Using the OS Aluminium in UTM acts like a regular desktop and you can pin apps to task bar, move windows, arrange them side by side and switch among multiple virtual desktops. Store apps install natively and resize just like regular programs too. The system integrates Gemini features and Linux container. You can open a terminal or ask assistant for summaries directly with no extra work.
Performance varies depending on Mac model. Performance is much better with Apple silicon compared to Intel. Having lots of RAM helps especially when running many applications at once.
Troubleshooting
If Aluminium OS does not reach the desktop on the first try, work through these in order. Most issues come down to the wrong boot option or a stale image.
- Stuck on the boot animation or a blank screen – Is your VM stuck at boot animation or a blank screen? You probably chose a boot option that does not match GSI. So just reboot and open Advanced Options again and pick the boot entry for GSI again. First boot takes some time so wait a few minutes.
- The GSI drive does not appear – Still can’t find GSI drive? Import Aluminium OS image directly from Drive rather than keeping it as a downloaded file. If UTM does not see it reimport the image and save before running VM.
- The VM feels very slow – If you have older Intel Mac expect some sluggishness since OS is running emulated rather than directly.
- No sound or shaky display – No sound and unstable display? Check if guest tools are working correctly. Often a restart fixes driver issues after first boot.
- If this still does not work get a new copy of GSI and avoid partial downloads because they can corrupt the image and prevent it from booting.