
Are you flashing a custom ROM? Normally you would spend a long time just finding recovery, vendor boot, dtbo and other image files and that’s before you actually start. And if a developer only gives you ROM zip you have to get the partition images manually with extra tools by yourself. ROM Flasher Pro turns this all around.
ROM Flasher Pro is a Free utility for Windows makes sideloading custom ROMs and recoveries and kernels using your own recovery. It reads the ROM zip and automatically extracts partition images and flashes them via Fastboot. No need to configure Python or dive into archives. Just click a few times in clean interface and you are done.
What is ROM Flasher Pro
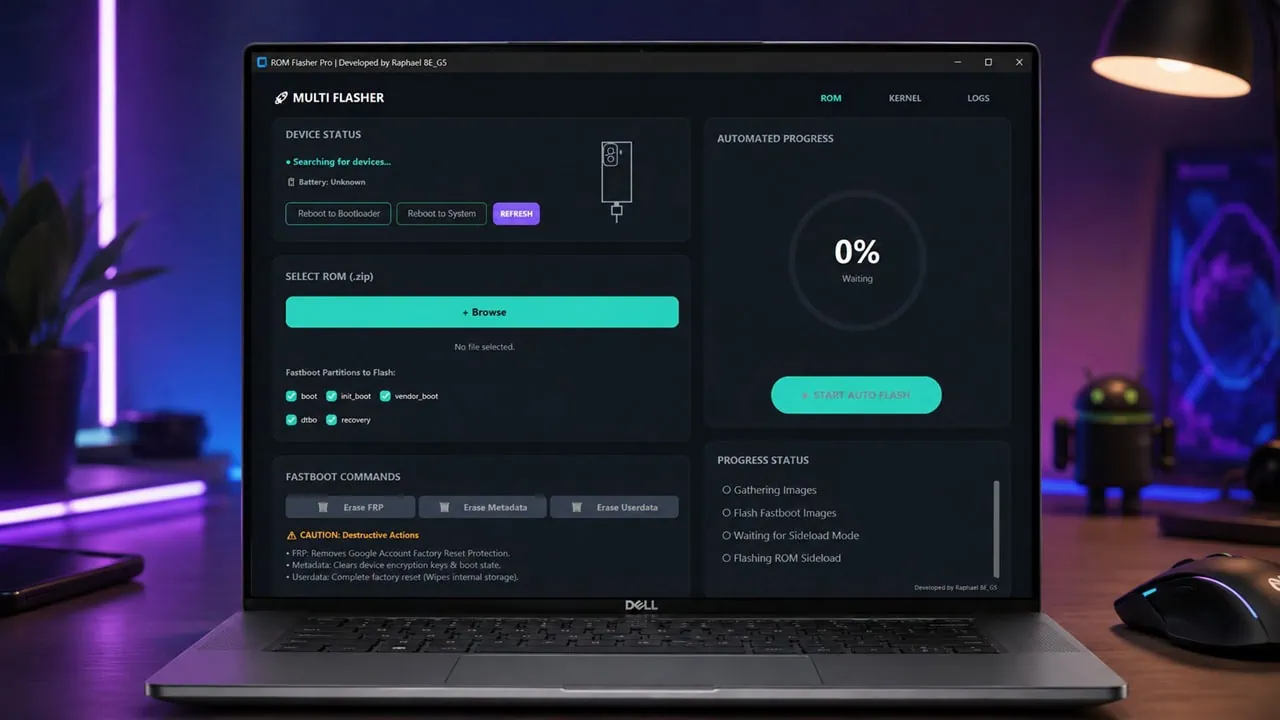
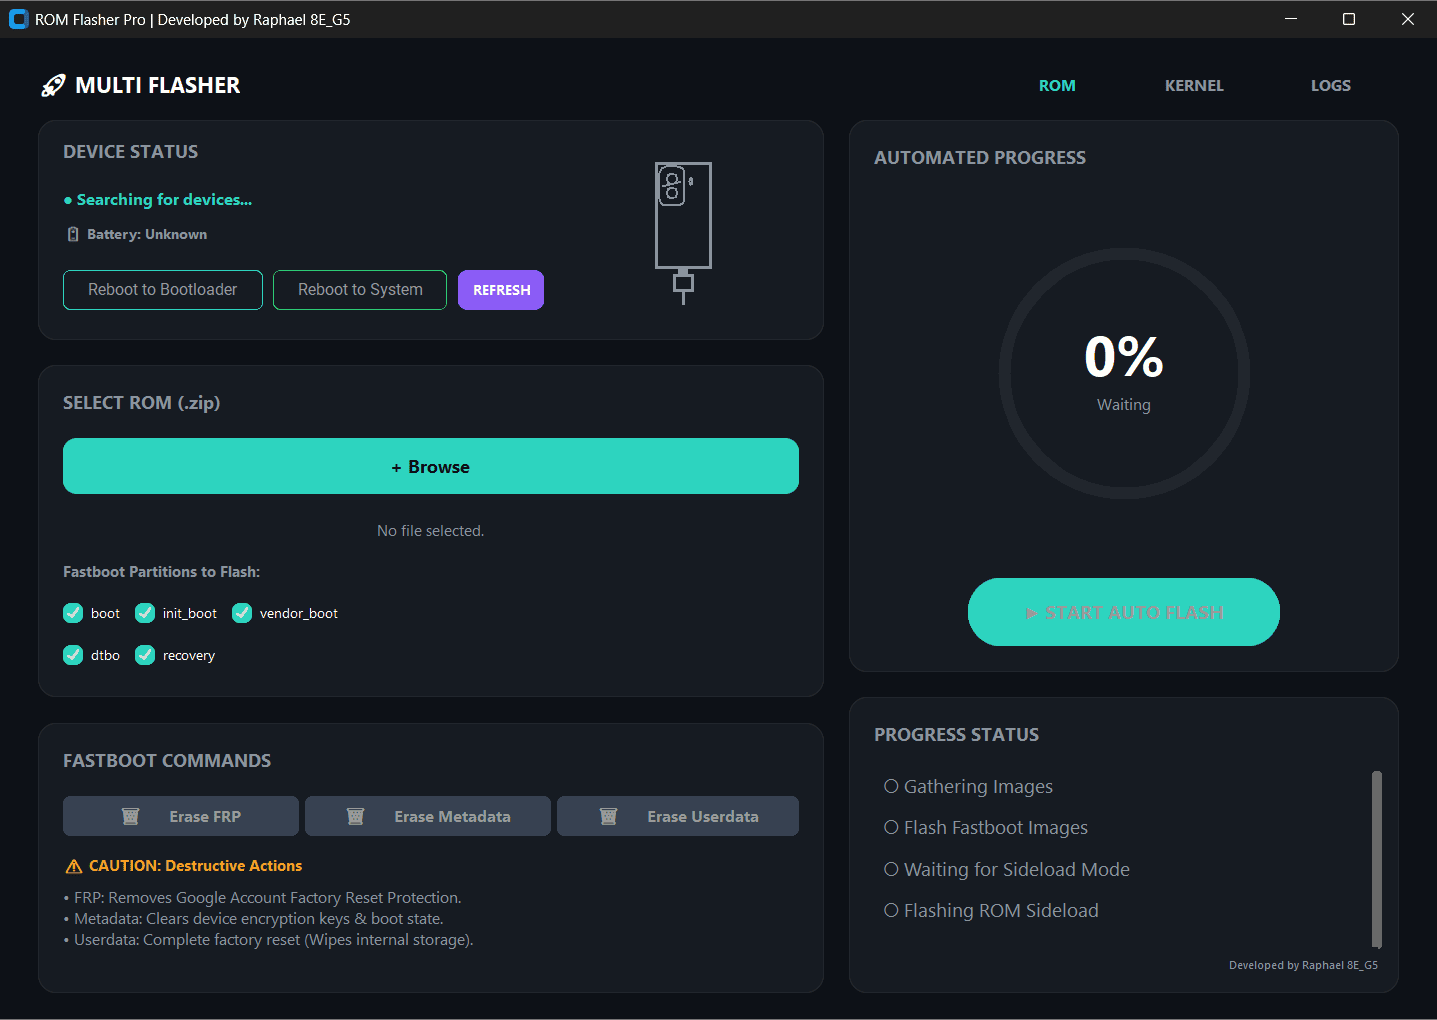
ROM Flasher Pro takes common ADB and Fastboot commands and puts them into a single visual tool. It connects via USB to your phone and runs three modes: Fastboot, standard ADB and ADB Sideload. When you give it a ROM zip, it extracts payload automatically. Then it gets files like boot, init_boot, vendor_boot, dtbo and recovery images it needs. This tool flashes these images to correct partitions. Afterwards it reboots into recovery and you finish with sideload yourself; you can check or uncheck each partition individually. For example, you can omit recovery if you prefer to use TWRP instead of recovery of the ROM.
Its main advantage is that it requires almost no setup. Normally if you get an unofficial ROM as bare zip, you’d have to extract it yourself. Then you’d push payload to an extractor and manually get each image separately. This tool handles extraction and flashing internally and thus beginners can completely avoid these tricky and prone to errors steps.
Key Features
- One-click reboot to Fastboot or Recovery mode from the main window.
- Auto extraction of boot, init_boot, vendor_boot, dtbo, and recovery from the ROM zip.
- Selective partition flashing with checkboxes, so you can skip any image you do not want.
- Dedicated kernel tab that reboots to recovery, waits for sideload, and flashes a kernel zip.
- Live device detection that knows whether the phone is in Fastboot, ADB, or sideload.
- Built-in erase buttons for FRP, metadata, and userdata from Fastboot mode.
- Real-time ADB and Fastboot logs in an integrated console.
- Standalone executable, so no Python install is needed on your PC.
Here is how the tool stacks up against the older, fully manual way of flashing a ROM.
| Step | ROM Flasher Pro | Manual method |
| ROM prep | Extracts the payload and images automatically | Unpack zip, load payload in a separate extractor |
| Partition choice | Checkboxes for each image | Type each Fastboot flash command by hand |
| Reboot handling | One-click to bootloader or recovery | Long-press keys or manual ADB reboot |
| Kernel flash | Built-in kernel tab | Separate steps and commands |
| Logs | On-screen console | Watch the command prompt |
Device Compatibility
ROM Flasher Pro works with phones that use standard fastboot partition flashing. This requires that the bootloader is unlocked. The device also needs to support usual fastboot commands for writing directly to boot, init_boot, vendor_boot, dtbo and recovery partitions. You can sideload most custom popular ROMs such as LineageOS, crDroid, Pixel Experience and similar builds with recovery. If you want to flash a kernel zip, you use the tab for kernels.
But remember its limitations. It does not support devices that need fastboot boot method. They boot temporarily using a recovery image and not flashing directly. It also cannot work with phones that use proprietary or other different Fastboot protocols. Flashing to an incompatible partition will brick it completely. So always check your device model before you start.
Requirements
- A Windows PC with a working USB port.
- An unlocked bootloader on your Android device.
- USB Debugging enabled under Developer Options.
- The proper Google or OEM USB and Fastboot drivers installed on the PC.
- ADB Platform Tools available system-wide if you run the standalone executable.
Changelogs
ROM Flasher Pro V5 (Latest)
- Intelligent Reboot to System button that reads the current device state
- Active Transfer Lock fixes connection drops on 5GB+ ROM sideloads
- Streamlined, Windows-only codebase for a lighter and faster exe
Download ROM Flasher Pro
Download the latest ROM Flasher Pro V5. Grab the zip file, extract it fully to a folder, and run the executable inside. If you prefer the standalone exe route, make sure ADB Platform Tools are enabled system-wide first.
Download Link – ROM Flasher Pro V5
How to Flash a Custom ROM
Before you begin, back up everything on the phone. Flashing wipes data, so keep a copy of anything you care about. You are flashing at your own risk, so make sure your device supports standard Fastboot partition flashing first.
- Enable USB Debugging on your device, then connect it to the PC over USB.
- Launch ROM Flasher Pro and click Reboot to Bootloader to enter Fastboot mode.
- Click Browse and load the ROM zip you want to flash.
- Every partition is checked by default. Leave it that way unless you have a reason to change it. For example, uncheck Recovery to keep TWRP instead of the ROM’s own recovery.
- Click Start Auto Flash. The tool extracts the zip, pulls the payload, and grabs the partition images it needs.
- Once the images are flashed, the phone boots into the recovery.
- Do a factory reset or Format Data from the recovery, then pick ADB Sideload.
- The tool starts the sideload. When it finishes, it asks if you want to flash another zip. Choose accordingly.
- Do another factory reset or Format Data from the recovery after flashing.
- Select Reboot System Now to boot into the new ROM.
How to Flash a Custom Kernel
ROM Flasher Pro also flashes a custom kernel through its own tab. The flow is short and mostly automatic once you open the kernel view.
- With USB Debugging on, connect the phone to the PC.
- Open the Kernel tab in ROM Flasher Pro.
- Click Reboot to Recovery, then choose ADB Sideload from the recovery.
- Click Browse, pick the kernel zip, and tap Flash Kernel.
- The flashing starts automatically. Do a factory reset afterward if the kernel prompts you to.
- Choose Reboot System Now to boot back into the OS.
That covers flashing a custom ROM and a kernel with ROM Flasher Pro. The tool keeps the risky extraction and partitioning work within a visual flow, making the whole process far less error-prone than doing it by hand in a terminal.