

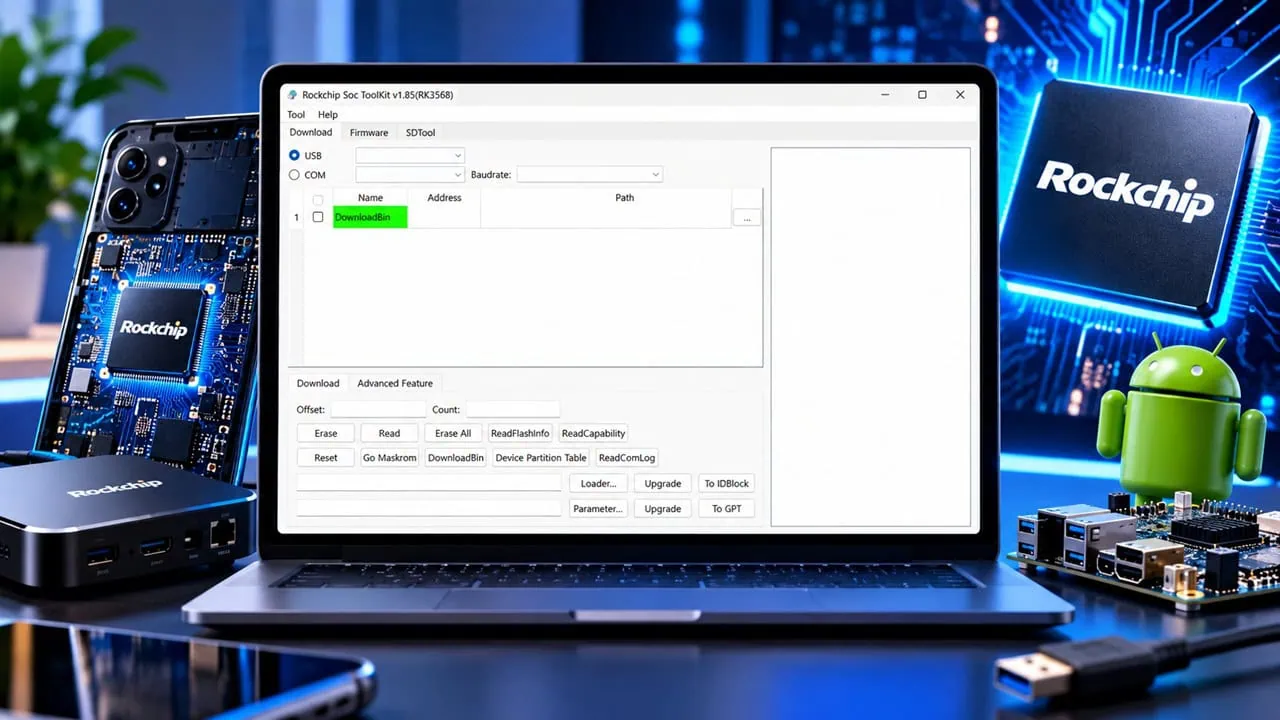
Rockchip chips power a huge number of TV boxes running Android and other mini PCs and developer boards that people buy regularly, yet almost none of these can be serviced by using official software alone. The new Rockchip SOC Toolkit changes this by gathering the most useful tools into one archive. Now you can flash firmware, extract partitions and revive a broken device from a PC running on Windows. This guide explains what is inside the Rockchip SOC ToolKit, which SoCs it supports and how to use each tool step by step.
Earlier ToolKits from Rockchip worked fine but were scattered and classic RK Dev Tool had an interface that looked old. The community put together a new launcher kit that feels closer to modern tools and this adds proper support for newer RK Dev Mini and Pico boards along with usual ones. In this post, we have shared the latest Rockchip SOC ToolKit and a guide to use the tool and flash Rockchip Devices.
What Is Inside the Rockchip SOC ToolKit
Before you touch anything, remember: always use firmware that matches your exact device model and chipset. Using a different or incorrect file turns a working Android TV box into a brick and while the kit usually can repair it, it is simpler never to push the wrong firmware to begin with.
| Tool | What It Does |
| RKDevTool | Rockchip official USB flasher, writes update.img firmware and single partitions on Windows |
| Rockchip Driver Assistant | Installs and removes the Rockchip USB drivers your PC needs to see the device in flash mode |
| rkDumper | Backs up firmware partitions like boot, system and vendor straight from a Rockchip device |
| SoCToolKit Launcher | The all-in-one GUI that starts the kit tools from one clean screen and adds Mini and pico board presets |
Download Rockchip SOC ToolKit
The complete Rockchip SOC ToolKit is packed into a single ZIP file, and the latest build comes in at about 39.3 MB. Grab it below, extract the archive to a simple folder path like C:\RockchipTools, and you are ready to flash firmware, dump partitions and rescue any supported Rockchip device.
Rockchip Soc Toolkit Changelogs
| Version | v1.85 |
| Supported Chips | RK3588, RK3566, RK3568, RV1106, RV1126, RV1103 |
| Copyright | Rockchip Electronics Co., Ltd. |
v1.85 changelog (2022/10/12):
- Support env using AB system
- Add switch maskrom
- Add read flashinfo
- Add read capability
Supported Rockchip Chipsets
The kit covers nearly every Rockchip SoC you will meet in boxes, boards and tablets. The list below covers the most common families, and the launcher also handles newer Mini and pico developer boards.
- RK3128, RK3229, RK3318, RK3328 – the classic cheap TV box chips
- RK3326, RK3358, RK3528 – mid-range boxes and sticks
- RK3566, RK3568, RK3399 – powerful boxes, mini PCs and SBCs like Orange Pi and Radxa boards
- RK3588, RK3588S – flagship Android TV boxes and AI boards
- RV1126, RV1106 – IP cameras, dash cams and edge AI modules
Install the Rockchip USB Drivers on Windows
When you first connect a device with Rockchip chip to Windows it usually results in an error saying the device is unknown. This means Rockchip USB driver is missing. Run the DriverInstall file from the folder Driver Assistant as administrator and then install the driver and accept security prompt. After restarting quickly the driver is ready and your device will now be detected in flash mode.
- Extract the full SOC ToolKit to a simple folder path, like C:\\RockchipTools.
- Open the Driver Assistant folder and right-click DriverInstall.exe, then choose Run as administrator.
- Click the Install Driver button and accept the Windows security prompt.
- Reboot the PC so the driver service starts cleanly.
- Optional: if you have an old Rockchip driver that keeps causing errors, open the same tool and click Remove Driver first, then install again.
Flash Firmware on a Rockchip Device with RKDevTool
To flash a full firmware image, open SocToolKit tool from Rockchip SOC toolkit folder and switch to the upgrade firmware tab, then load the update image of your device. With the box unplugged, hold the reset button on the board or in the AV hole and connect the USB cable at the same time. The tool will switch to a found one device state, and once it does, release the button and click upgrade. The process takes a few minutes and the device restarts on its own when it is done.
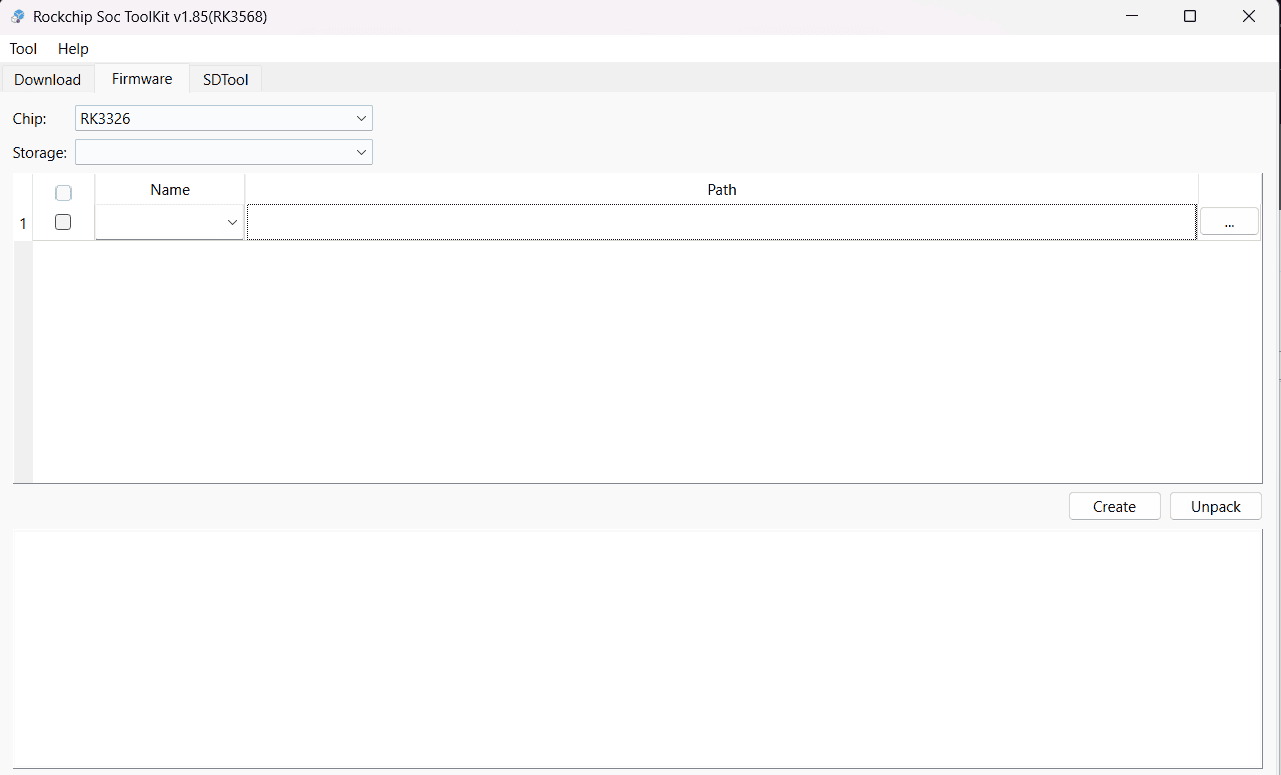
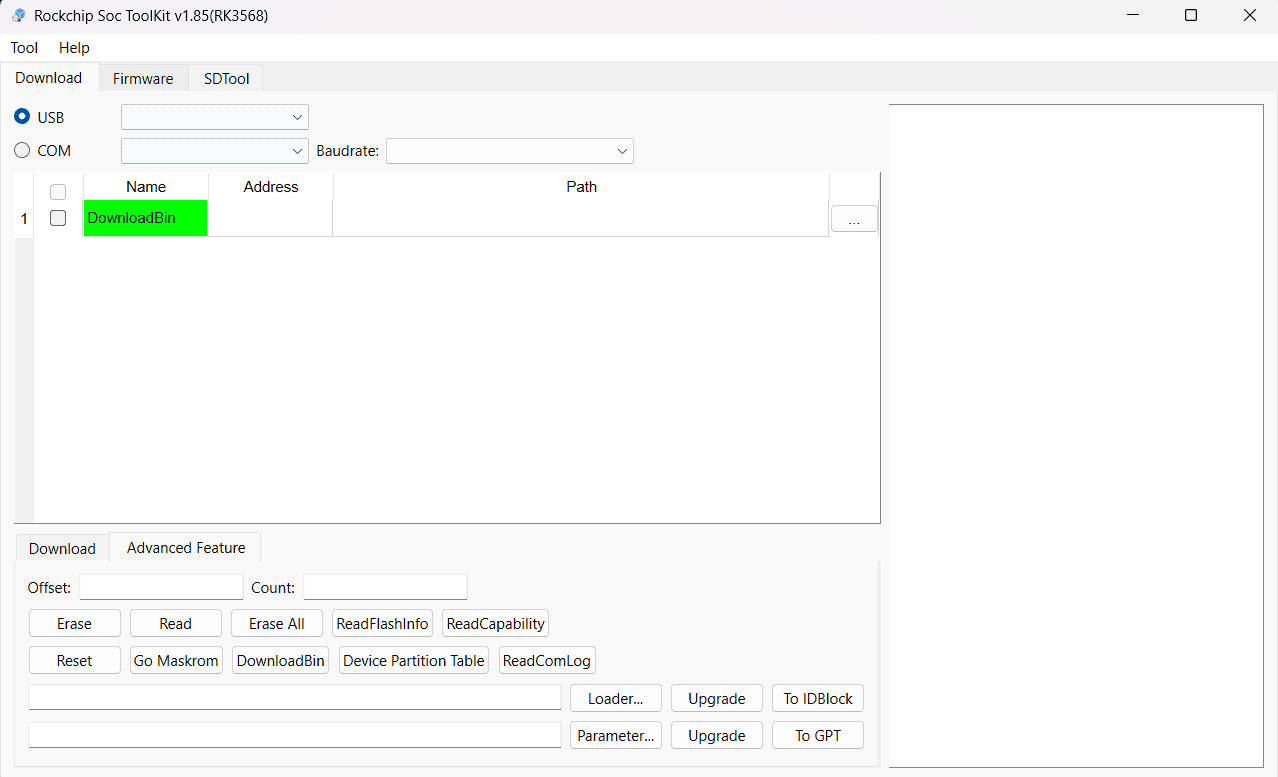
- Open RKDevTool and click the Upgrade Firmware tab.
- Click Firmware and load the update.img file of your exact device model.
- Keep the box unplugged and hold the reset button (a tiny button behind the AV hole on most TV boxes) with a toothpick.
- Plug the USB cable into the box and the PC while holding the button. RKDevTool switches to Found one device.
- Release the button and click Upgrade.
- Wait 5 to 10 minutes, the box restarts into Android on its own when the flash finishes.
What Is Maskrom Mode and How to Enter It
If your device is completely dead and does not show up normally you can force it into Maskrom mode, lowest level of recovery for Rockchip devices. Hold the reset button while you plug in the USB cable and RKDevTool will report finding a Maskrom device. From there you can erase flash, install a fresh loader and write new firmware – this is the tried and true way to fix any Rockchip box.
- Unplug the device and connect the USB data cable to the PC first.
- Hold the reset button (or the ADB/recovery key on dev boards) pressed.
- Plug the cable into the device while keeping the button held.
- RKDevTool shows Found one MASKROM device – release the button now.
- Load the matching loader from your firmware folder, run Erase All, then flash a fresh image to bring the device back.
Back Up Partitions with rkDumper
Before flashing anything, it is smart to back up the partitions you are about to replace. Enable USB debugging in the developer options on your Android box, connect it to the PC and run rkDumper as administrator. Pick the partitions you want to keep, like boot, vendor and system, and the tool will save each one as an image file that you can restore later with RKDevTool.
- Enable USB debugging on the Android device (Developer options, tap the build number seven times first).
- Connect the device to the PC and accept the debugging prompt on its screen.
- Run rkDumper as administrator.
- Tick the partitions you want to keep, like boot, system, vendor and userdata.
- Click Dump and wait, each partition is saved as its own image file.
- Restore them later from RKDevTool using the Download Image tab with the partition list.
Troubleshooting Common Problems
If your device is not seen by the tool, try another USB port using data cables instead of chargers. If you receive a Maskrom device but every action keeps failing, the loader version does not match your chip, so download a matching loader from firmware of your device. And if Windows blocks driver installation, temporarily disable driver signature enforcement and reinstall.
- Device not detected: try another working USB port or cable.
- Found one MASKROM device, but every action fails: the loader file does not match your chip; grab the loader from your exact firmware package.
- Erase All or Download stuck: reboot the tool, reconnect in Maskrom and reload the matching loader.
- Windows blocks the driver: temporarily disable driver signature enforcement, install the driver, then re-enable it.
- Flash succeeded but the device is stuck on a logo: the firmware was built for a different model, flash the correct stock image for your device.
- Device keeps booting to recovery instead of flash mode: release the reset button only after the tool reports the device, the timing matters.
This article details the full flow for the Rockchip SOC toolkit, including driver installation, flashing firmware, backing up partitions, and reviving bricked devices. Save your Rockchip device’s firmware, keep a folder containing your exact firmware, and recover your device easily. Share this guide with friends if it helped you to recover your device.